
Captive Nut Redesign
Z axis mounting


The Z axis in progress


Re Designed Bearings

The Y Gantry!

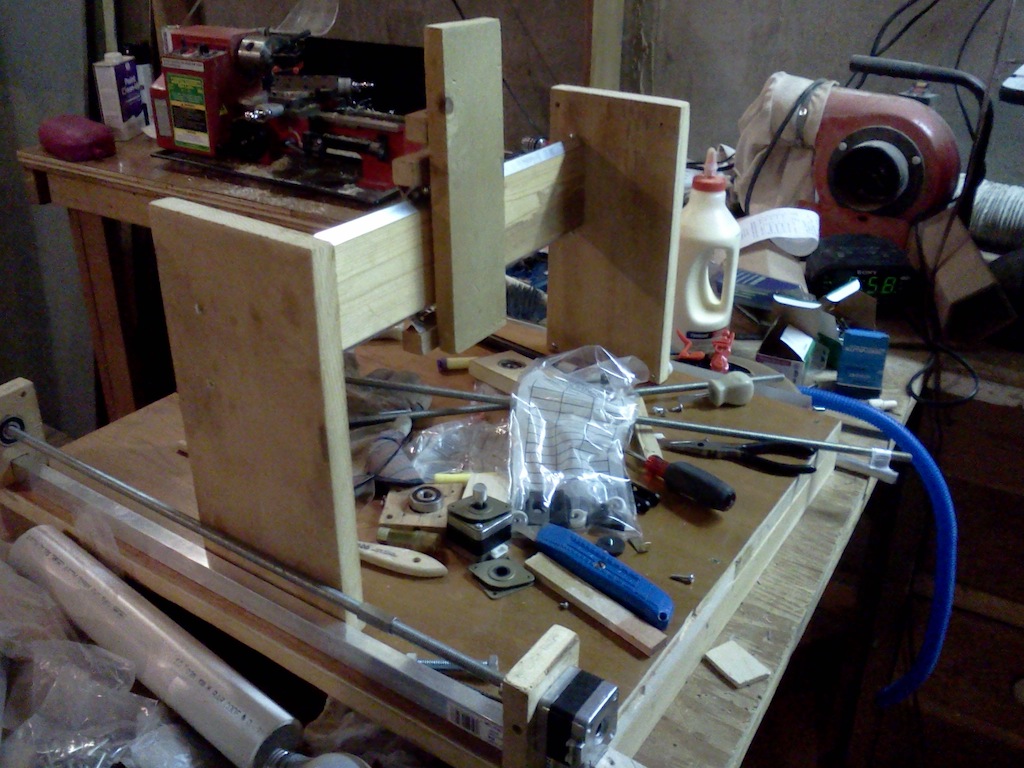
Bearings
After doing some research, I found that a V shaped bearing system works much better than just the horizontal and vertical bearings I used on the X axis. So, for the Y axis, I used aluminum L-bar for both the track and the bearing mount, with quite satisfying results.

Right- A Finished bearing mount.
Bottom- The mounts in place on the rails.
Mounting The Gantry
With the bearings mounted onto L brackets, I simply attached them to a flat piece of wood, which will later hold the Z-axis. The bearings are tightened by a series of screws holding them in place. To prevent jitter, I drilled another hole for a screw, but instead, my drill bit got stuck in the hole, and holds the two pieces together quite well!

Motor Controller!

Childrens Book Illustrations

Air-Powered Nerf Rifle

See below for construction details!
Subscribe to:
Posts (Atom)